Wildfire season is part of life in Sonoma’s wine country, and buyers know it. If you plan to sell in Kenwood, the right home hardening steps can protect your property and strengthen your position on the market. You want clarity on what matters, what is required, and how to time it without delaying your listing. This guide breaks down high‑impact upgrades, permit and product tips, timelines, and how to present your work to buyers with confidence. Let’s dive in.
Why home hardening matters in Kenwood
Kenwood sits in a region with elevated wildfire risk and a history of damaging events. Buyers, insurers, and inspectors now look closely at wildfire resilience and defensible space. By addressing key vulnerabilities in advance, you reduce risk and demonstrate diligence to the market. Clear documentation of your work can also remove friction during negotiations.
Know the rules before you start
California’s Chapter 7A of the Building Code sets standards for exterior materials and construction in Wildland‑Urban Interface areas. Public Resources Code 4291 outlines defensible space requirements around structures, typically up to 100 feet or to the property line. Sonoma County’s Permit and Resource Management Department and your local fire district interpret and enforce these rules. Before you begin, confirm whether your planned work triggers permits or Chapter 7A compliance so you avoid rework or delays.
What buyers look for today
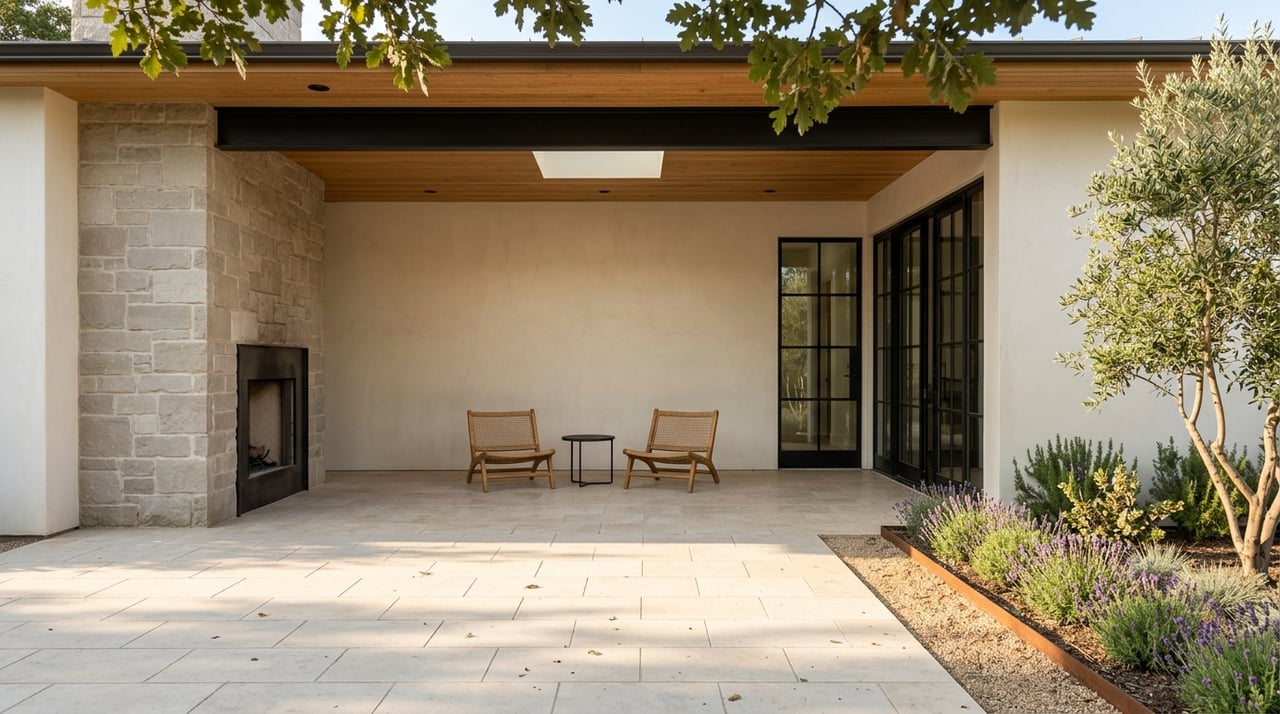
Buyers want to see that you addressed embers, radiant heat, and direct flame exposure. They are drawn to visible, well‑executed improvements and credible documentation. Focus on exterior components, defensible space, and clean, well‑maintained conditions. A concise packet with photos, receipts, and permits adds confidence.
Core home hardening essentials
Class A roof covering
Your roof is the highest‑impact element to address. A Class A roof resists severe exposure to fire and embers when correctly installed. Common options include asphalt shingles rated Class A, concrete or clay tile, metal roofing, or slate. If you plan a re‑roof, expect permits and plan for material and contractor lead times.
Ember‑resistant vents and openings
Embers enter through attic, soffit, and foundation vents. Retrofit ember‑resistant vents and corrosion‑resistant metal mesh reduce this risk. Confirm that products are designed for WUI use and that attic ventilation remains adequate. Sealing small gaps around eaves, pipes, and penetrations also blocks ember entry.
Eaves, soffits, and roof edges
Open or exposed eaves can allow embers and heat to penetrate. Enclose eaves with noncombustible or ignition‑resistant materials and use ember‑resistant or baffled soffit vents. Add metal flashing at rakes and valleys and seal gaps at roof transitions. These details work together to keep embers out.
Exterior walls and attachments
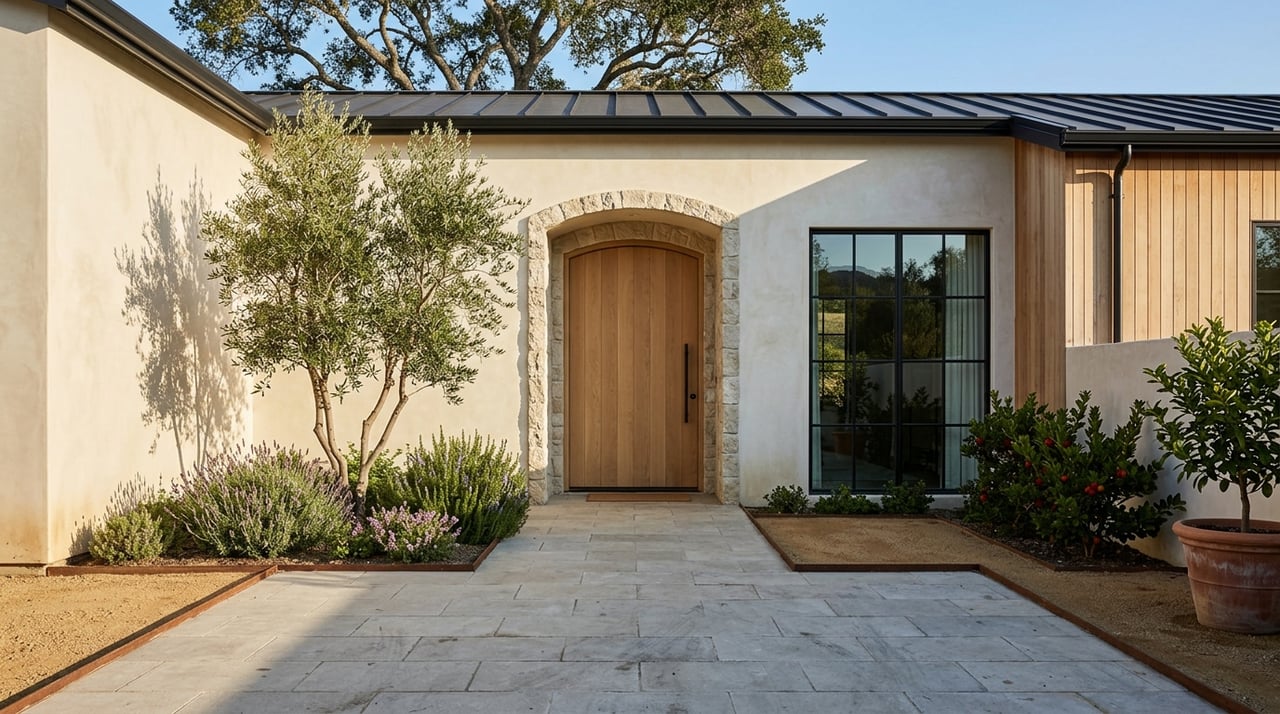
Ignition‑resistant siding helps resist radiant heat and ember exposure. Fiber cement, stucco, masonry, or noncombustible metal siding generally outperform untreated wood or vinyl. Address attached features like fences, trellises, and balconies, and keep them free of debris. Where practical, transition to ignition‑resistant materials at connections to the house.
Windows and doors
Windows can fail from heat, allowing flames or embers inside. Dual‑pane units with tempered glass and well‑sealed frames are more durable. For doors, consider solid core or metal options at primary entries and ensure garage doors close and seal tightly. These upgrades can be planned in phases based on budget and risk.
Decks, porches, and under‑deck areas
Deck surfaces and undersides collect embers and debris. Use noncombustible or ignition‑resistant decking and enclose under‑deck framing. Clear out stored combustibles below or adjacent to the deck. Aim for a clean, uncluttered perimeter.
Gutters and roof debris
Debris in gutters ignites easily from embers. Keep gutters and roof valleys clean and consider ember‑resistant gutter covers where compatible. Metal gutters and noncombustible guards reduce risk and maintenance.
Landscaping and defensible space
Vegetation management is your first defense. Create and maintain defensible space per PRC 4291. Remove dead material, prune lower branches, space plantings, and move woodpiles at least 30 feet from structures. Near the home, choose low‑fuel landscaping and maintain it regularly.
A prioritized action plan
High‑priority, high‑impact tasks
- Create or confirm defensible space per PRC 4291. Clear dead vegetation, prune ladder fuels, and relocate woodpiles beyond 30 feet.
- Clean roofs and gutters. Remove leaf litter at eaves and in roof valleys.
- Install ember‑resistant vent covers on attic and foundation vents.
- Seal gaps around eaves, attic access, pipes, and vents.
- Document everything with before and after photos, receipts, and product sheets.
Medium‑priority upgrades
- Replace aging roofing with Class A materials if condition and budget allow.
- Add ember‑resistant gutter guards where compatible.
- Upgrade exterior doors to solid core or metal and improve weatherstripping.
- Replace single‑pane windows in vulnerable areas with dual‑pane units that include tempered glass where indicated.
Major projects to consider
- Re‑side with ignition‑resistant materials such as fiber cement, stucco, or masonry.
- Enclose or rework open eaves and soffits to align with local WUI requirements.
- Undertake a full roof replacement to Class A tile or metal when timing and budget align.
- Large systems, such as exterior sprinklers, typically require more planning and permitting.
Vet products and contractors with care
Look for clear fire‑performance data and recognized testing or evaluation. For roofing, confirm a Class A rating tested per accepted standards. For vents, seek products marketed as ember‑resistant that provide test documentation or third‑party evaluations. For siding and decking, request manufacturer fire‑performance data and any Chapter 7A compliance statements. Choose contractors with WUI experience and ask for references, proof of licensing and insurance, and examples of similar projects. Keep product data sheets and model numbers for your records.
Permits and coordination in Sonoma County
Re‑roofing, siding replacement, and structural changes commonly require permits. Retrofits that change openings, ventilation, or structural elements can trigger inspections and WUI compliance. Contact Sonoma County’s Permit and Resource Management Department and your local fire district early to confirm permit triggers, acceptable products, and inspection steps. Early coordination helps you avoid rework and maintain your listing timeline.
Lead times and timing your listing
Expect quick wins such as defensible‑space clearing, gutter cleaning, and some vent retrofits to take days to two weeks. Ember‑resistant vents, gutter guards, and some doors or windows often run two to six weeks depending on inventory. Roofing materials, specialized vents, and contractor scheduling can take four to twelve weeks or more. Specialty roofing, major siding orders, and custom windows can stretch to six to sixteen weeks or longer. Contractor availability tightens in spring and summer, so start planning 60 to 120 days before your target list date and allow longer for major upgrades.
How to document and present your work
A clear, concise packet helps buyers see the value. Include permits and inspection records, contractor invoices, product data sheets, and WUI or Chapter 7A references where available. Add date‑stamped before and after photos that show defensible‑space improvements and key retrofits. Summarize your work with factual descriptions, such as the model of ember‑resistant vents used or the roofing class and installation date. Encourage buyers to obtain their own inspections for ongoing maintenance planning.
Marketing advantage for Kenwood sellers
In a market that values preparedness, well‑executed home hardening can be a differentiator. Clean rooflines, protected vents, tidy eaves, and maintained defensible space signal a cared‑for property. Clear documentation reduces questions and can shorten negotiations. By combining smart upgrades with polished presentation, you set the stage for a confident sale.
Ready to align your hardening plan with your list timeline and buyer expectations? For tailored guidance on what to prioritize and how to present it for maximum impact, contact Hillary Ryan Group. Request a Private Consultation.
FAQs
What is Chapter 7A and how could it affect my Kenwood home?
- Chapter 7A sets standards for exterior materials and construction in WUI areas; depending on your location and project scope, certain upgrades or permits may need to meet these requirements.
Which home hardening projects deliver the most impact before selling in Kenwood?
- Focus first on defensible space, roof and gutter cleaning, ember‑resistant vents, and sealing gaps, then consider Class A roofing, ignition‑resistant siding, and targeted window or door upgrades.
How far in advance should I start home hardening before listing in Sonoma County?
- Plan at least 60 to 120 days ahead, and longer if you anticipate major roofing or siding projects or custom materials.
Do I need permits for roof or siding work at a Kenwood property?
- Re‑roofing, siding replacement, and structural changes commonly require permits, so coordinate early with Sonoma County’s Permit and Resource Management Department and your local fire district.
What documents should I provide buyers to show home hardening due diligence?
- Include permits, inspection reports, contractor invoices, product data sheets, before and after photos, and a brief summary of defensible‑space measures taken.